


Directions:
Step one: Students will make your own sketchbook.
step two: Complete the sketchbook worksheet and add color.
Step three: Draw your sketchbook design on the front and back with ideas from your sketchbook worksheet.
Step four: Make sure to write your first and last name on the inside and class period.
Step five: After you have drawings covering the front and back of your sketchbook then you will sign out a sharpie and go over your lines with Sharpie.
Step six: Next step is adding color - completely color front and back.
step seven: Take a picture of the front and back and upload to Artsonia with a statement.
Sketchbooks stay in the classroom and go home at the end of the quarter.
Contents:
Pre-punched Chipboard CoversPre-punched 80# white sulphite Drawing Paper
Black binding coils (coils are slightly longer)
Bookbinding Directions:
1. Directions are for books with front and back Chipboard Covers and 80# Drawing Paper. You will each receive 2 Chipboard Covers, paper and 1 black binding coil.
2.Count out the number of sheets of paper you will be using, then place them between the 2 covers lining up the holes. Take a black binding coil and starting at one end, spiral the coil through each of the holes. *Note: Leave 1⁄2" extra coil on both ends of the book to prevent the coil from spiraling out of the book when in use. Carefully cut any excess coil.


 |
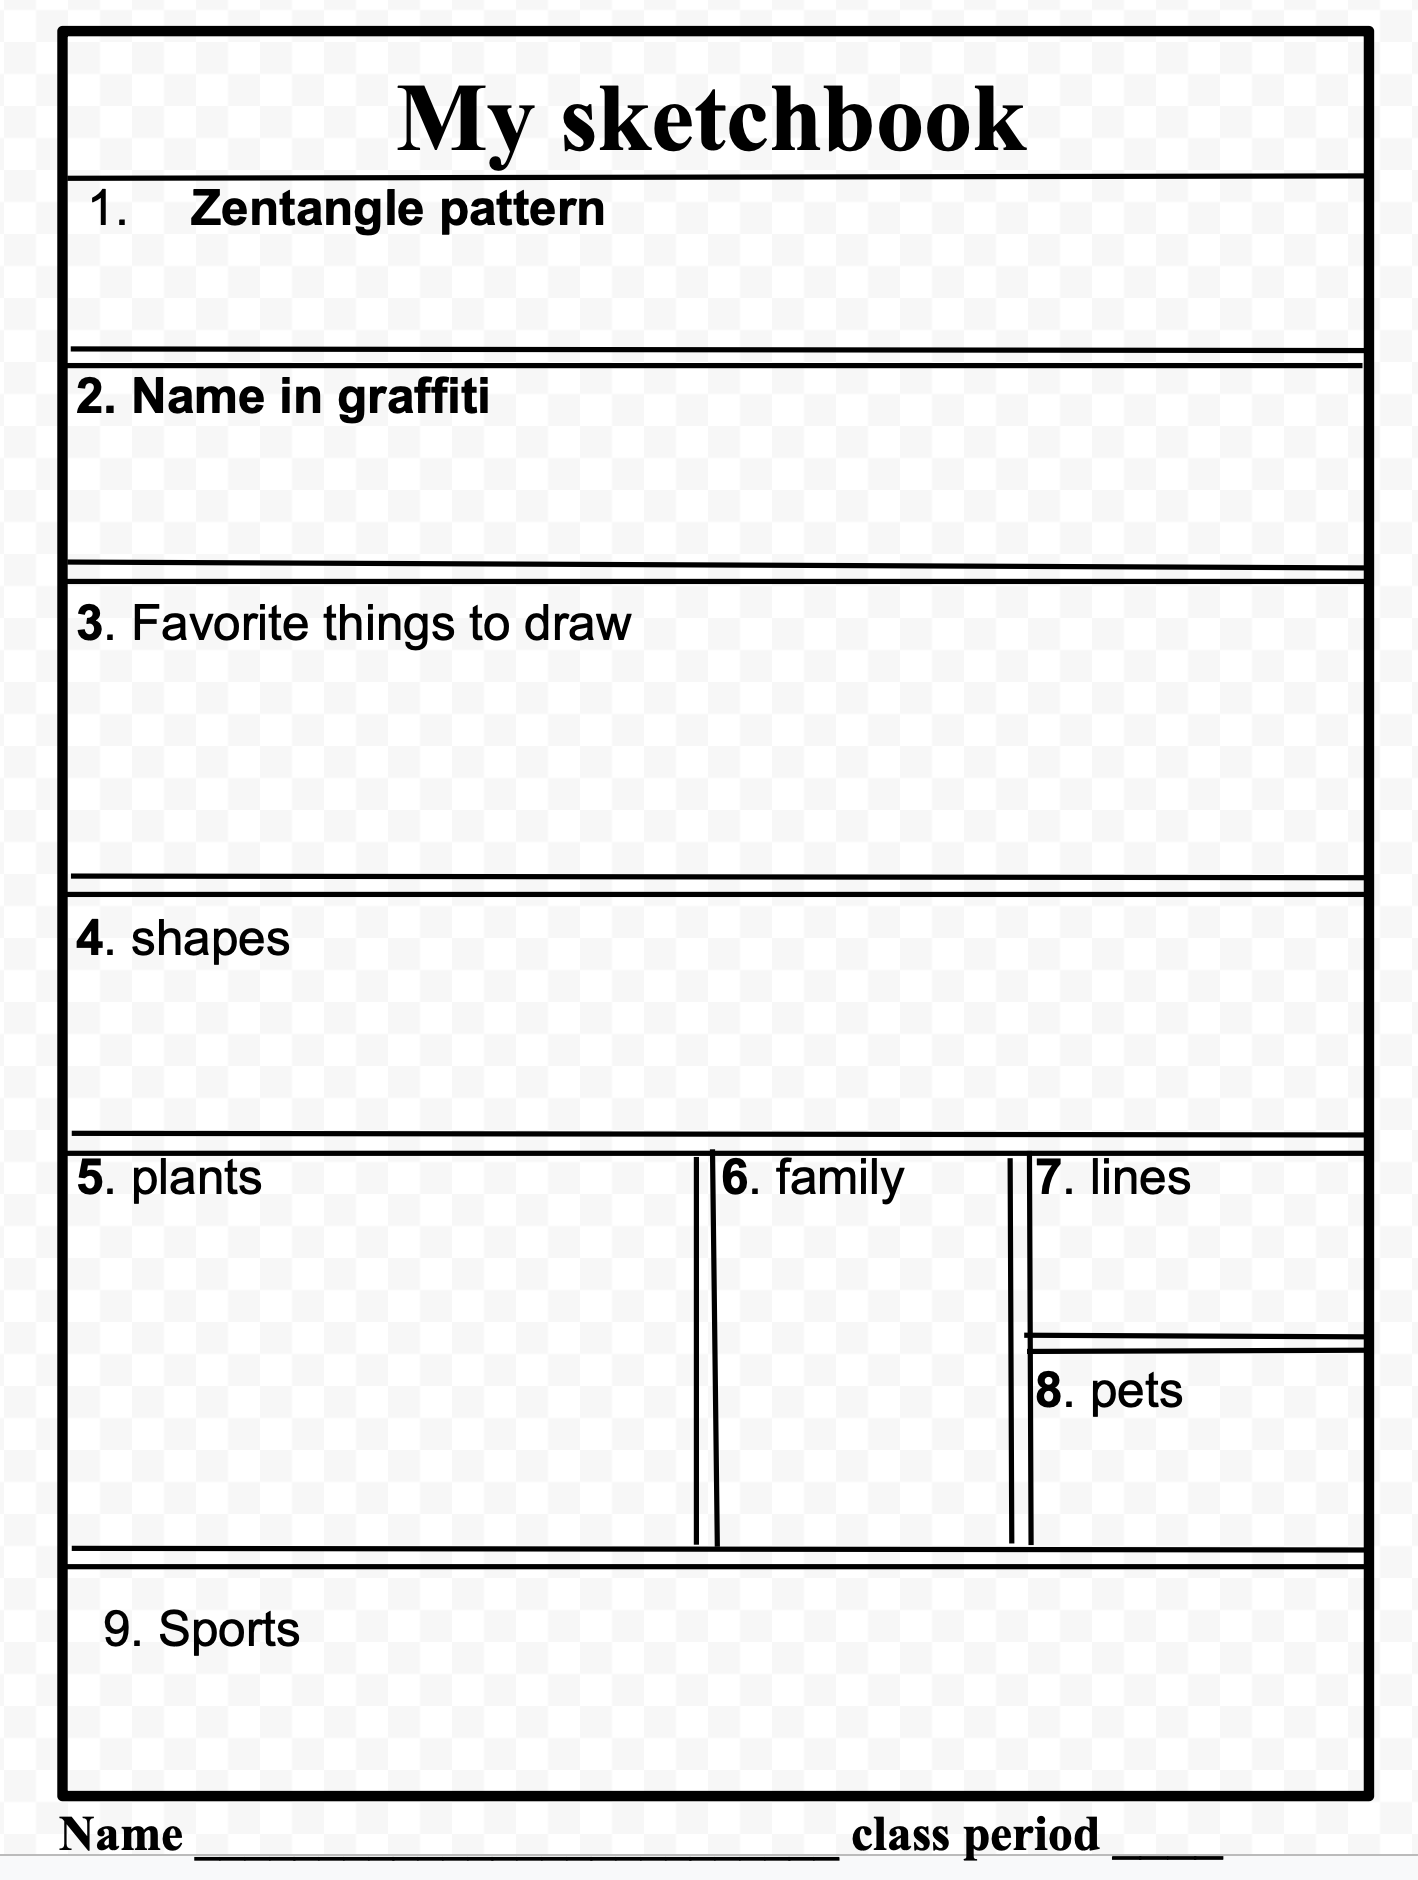
| Sketchbook cover drawing before color was added. |
 |
| Pick one "ART" to try on your sketchbook cover. |
 |
  |
No comments:
Post a Comment